FanVancouver · Local guide
Guide for US drivers crossing the Peace Arch border into Vancouver. Learn about wait times, NEXUS, customs, currency, and insider tips.
Peace Arch is the busiest land crossing between British Columbia and Washington State, and for anyone driving up from Seattle or Bellingham it is the part of the trip most likely to go wrong. Waits swing from five minutes to well over two hours depending on the day and the hour, and the choice between Peace Arch and the Pacific Highway crossing a few minutes east — the one that takes trucks and has its own NEXUS lane — matters more than most drivers expect. This page covers live wait times, which lane to pick, NEXUS, what you may and may not carry across, and the hours that are reliably quiet.
In Vancouver the price depends on the neighbourhood far more than on the star rating. Compare live hotel and rental rates side by side before you lock your dates.
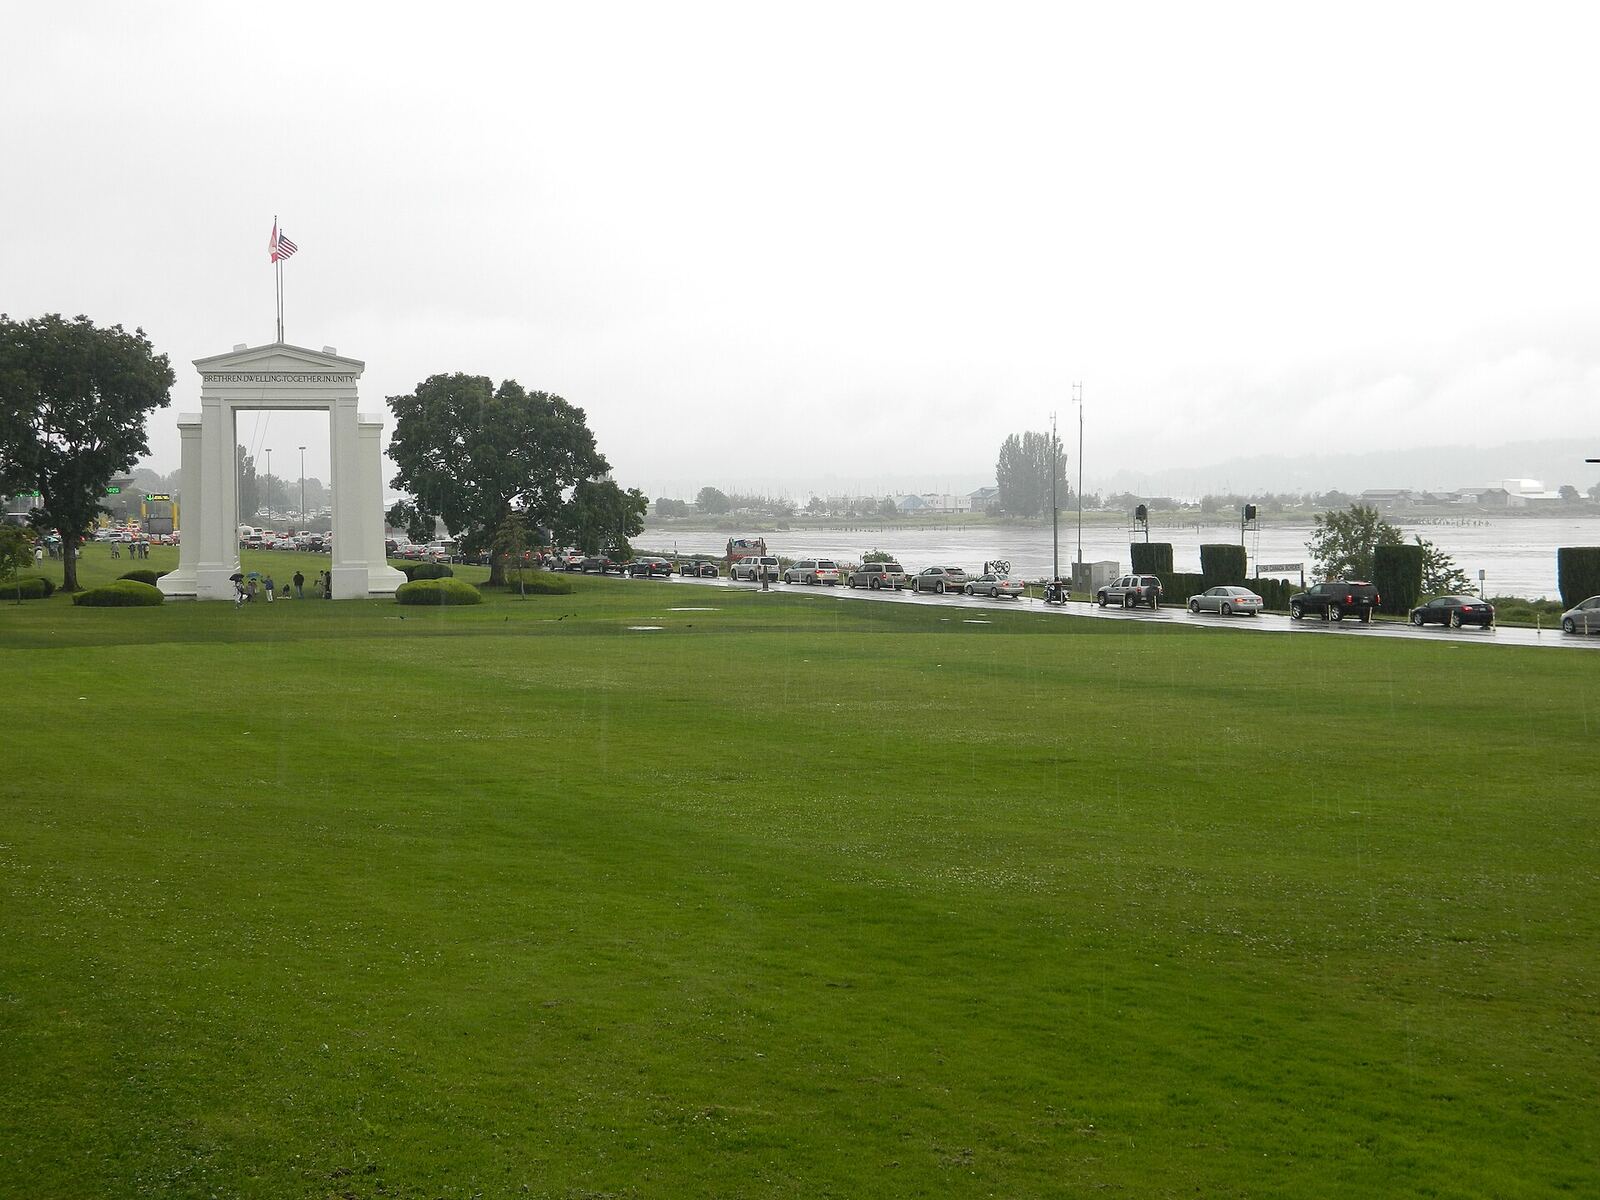
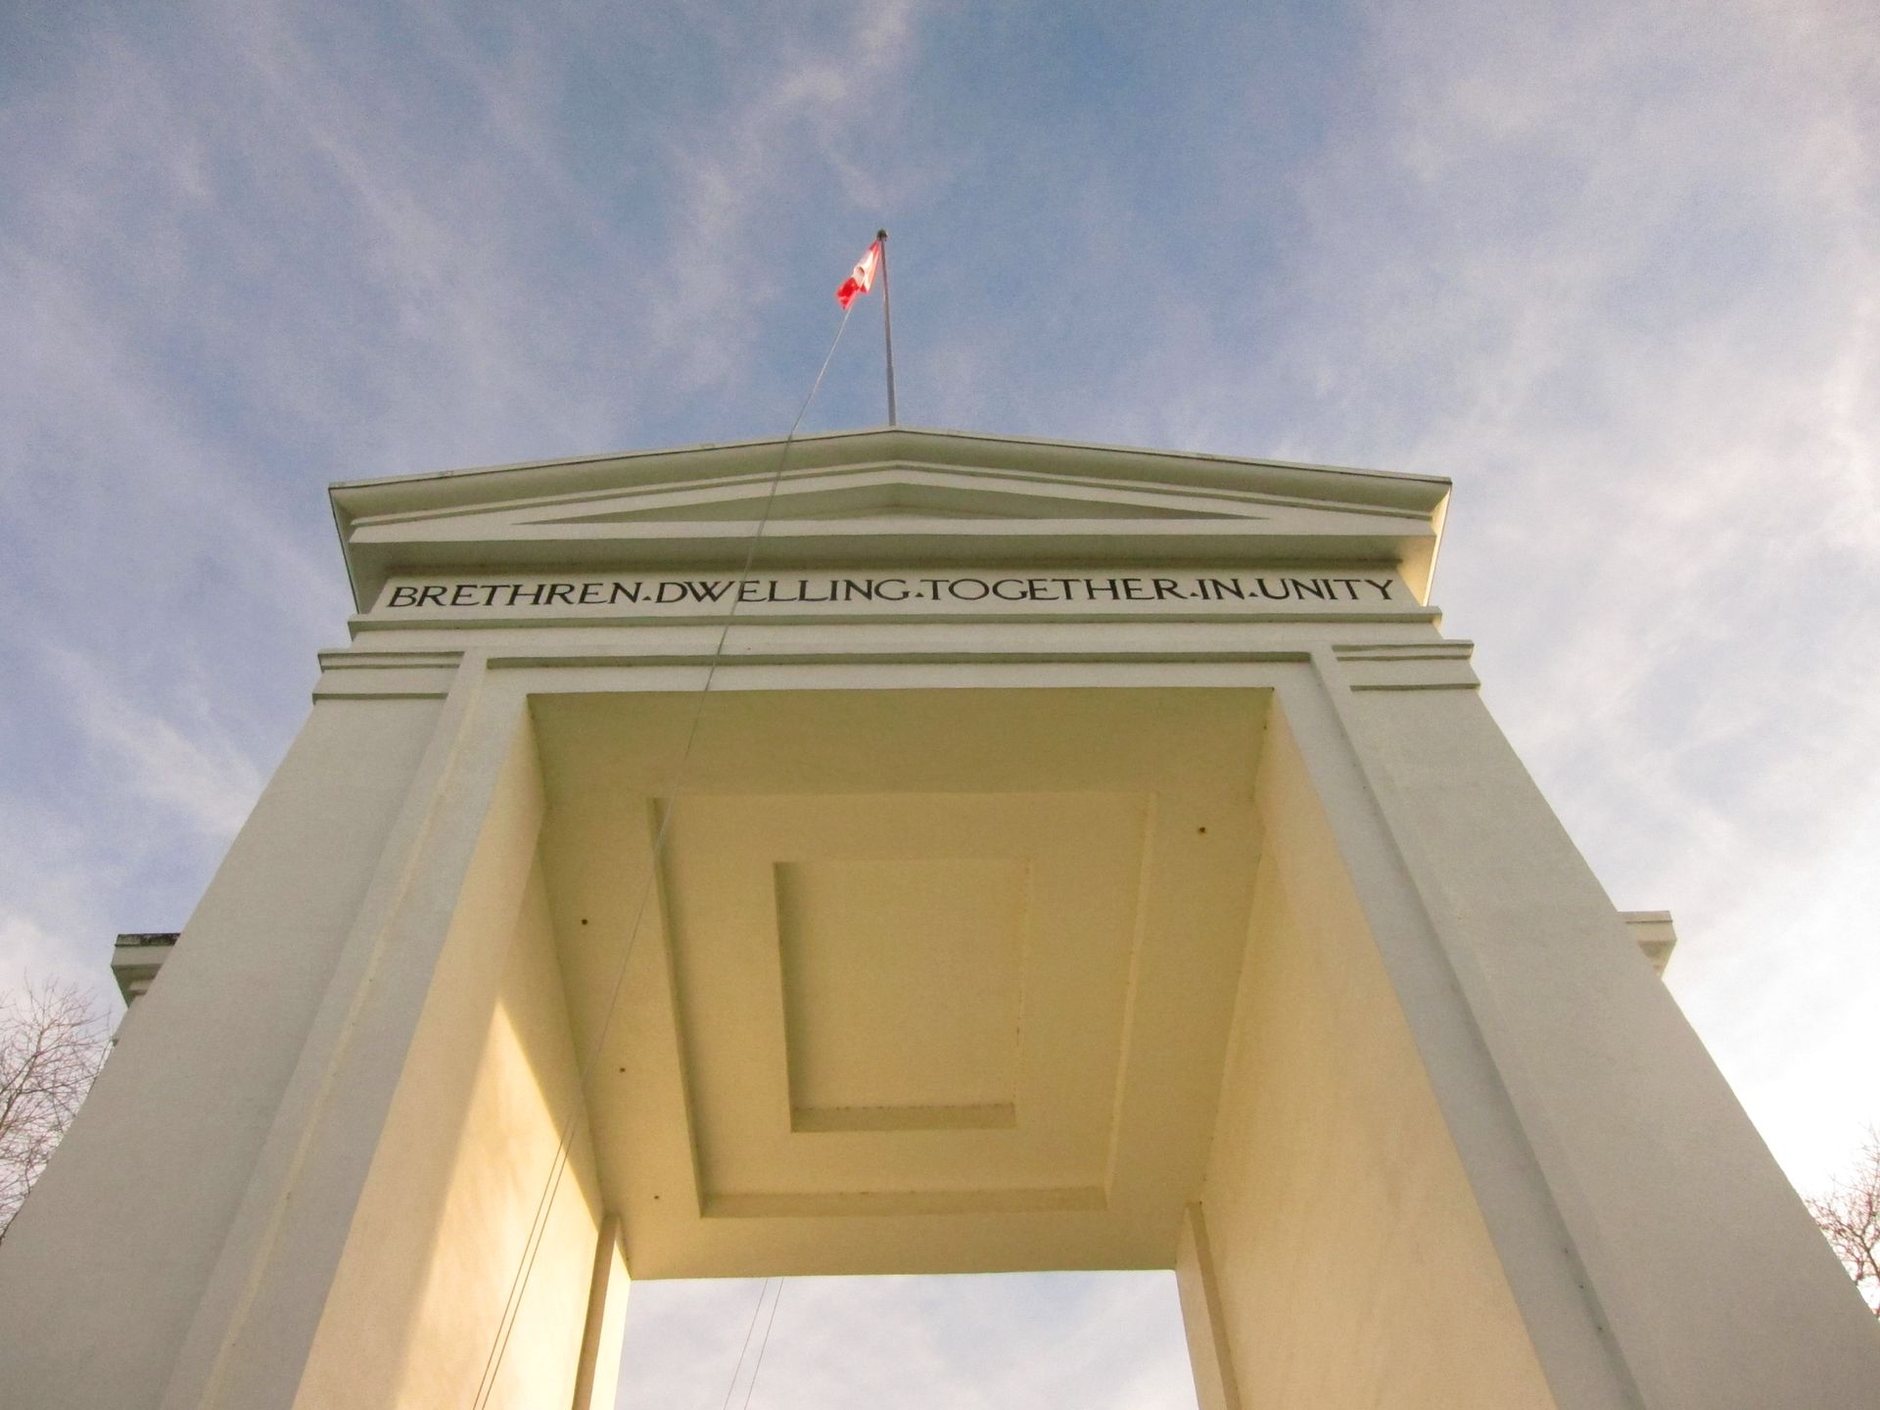
The Peace Arch crossing (official name: Douglas Border Crossing in Canada, Blaine Border Crossing in the US) is the most popular land border crossing between Washington State and British Columbia. It’s open 24/7, 365 days a year, and is famous for its beautiful park, a unique international space where you can wander freely between the two countries without formal customs checks (though you'll still go through customs when you re-enter your respective country by car). It’s the gateway to Surrey, White Rock, and ultimately, Vancouver. The sheer volume of traffic means that wait times are a constant consideration, particularly during peak periods.
Before you even get close to the Peace Arch, always, always check wait times. I cannot stress this enough. If Peace Arch is showing an hour-plus wait, seriously consider your alternatives. Here are your main options, listed north to south from Peace Arch:
How to check wait times:
My rule of thumb: If Peace Arch is over 30 minutes, I start looking at Pacific Highway. If both are over 45 minutes, Aldergrove becomes a serious contender, especially if I’m not in a rush.
If you plan on crossing the US-Canada border more than a couple of times a year, NEXUS is an absolute no-brainer. Seriously, it's one of the best investments you can make. NEXUS is a trusted traveler program designed to speed up border crossings for pre-approved, low-risk travelers. It works for both land, air, and marine crossings.
It's a joint program between the Canada Border Services Agency (CBSA) and US Customs and Border Protection (CBP). Once approved, you get a card that allows you to use dedicated NEXUS lanes at land crossings and kiosks at airports.
Applying for NEXUS involves an online application, a background check by both countries, and an in-person interview. The interview typically takes place at a NEXUS enrolment center, often located near border crossings or major airports. Historically, there was a backlog for interviews, but things are improving. The fee is a very reasonable ~US$50 for a five-year membership, which works out to about ~CAD$65-70 depending on the exchange rate.
The Peace Arch crossing has dedicated NEXUS lanes, both northbound into Canada and southbound into the US. These lanes are almost always significantly faster than the general public lanes. On a busy Sunday afternoon, when the regular lanes might be backed up for two hours, the NEXUS lane might be 15-20 minutes. The savings in time and frustration are immense.
My advice: If you're a regular cross-border traveler, apply for NEXUS today. The initial hassle of the application and interview is dwarfed by the long-term benefits.
If you are using NEXUS or the general lane, the process is similar. Here's a breakdown:
As you approach the Peace Arch crossing on I-5 North, you'll see signs indicating the lanes for "All Traffic" and "NEXUS." Choose your lane well in advance. The lanes can back up significantly, so merging at the last minute can be tricky and even dangerous. Once you're in line, stay in your vehicle.
When you reach the booth, roll down your windows. The CBSA officer will ask for your passports (or NEXUS cards). They will also ask a series of questions. Be prepared for:
Key Tip: Be Honest, Be Concise, Be Polite. Border officers are trained to detect deception. Don't volunteer information they haven't asked for, but don't try to hide anything. A simple, direct answer is always best. A friendly demeanor goes a long way.
Occasionally, an officer may direct you to a secondary inspection area. This isn't necessarily a bad thing; it could be for a random check, to verify declarations, or if they have further questions. Cooperate fully. It usually involves parking your car and going inside with your documents. Your car might be searched. It's usually a quick process unless they find something suspicious.
You’re entering a new country, even if it feels very similar. A few practical notes will make your transition smoother.
Canada uses the Canadian Dollar (CAD). While many larger stores and tourist attractions in Vancouver might accept US dollars, you'll almost always get a less favorable exchange rate than if you pay in CAD or use a credit card. The current exchange rate (as of early 2026, for estimation purposes) typically hovers around ~US$1 = ~CAD$1.35 - $1.40. This means your US dollars go further in Canada, which is a nice bonus!
Know what you can bring across the border. For US visitors entering Canada:
Always check the official CBSA website for the most up-to-date and detailed information on allowances and restrictions.
Once you’ve cleared customs, you’re officially in Canada! Welcome to British Columbia. From the Peace Arch crossing, you’ll be on Highway 99 North. Vancouver city centre is approximately 45 kilometers (about 28 miles) north.
The drive is straightforward. Simply stay on Highway 99 North. It’s a well-maintained freeway. You’ll pass through Surrey and Richmond before reaching Vancouver proper.
While most US visitors drive, it is technically possible to get to Vancouver via public transit from the border, though it's not the most convenient. You would need to walk across the border (after parking on the US side, or getting dropped off), clear Canadian customs on foot, and then catch a local TransLink bus (Route 351 or 352) from the Peace Arch Provincial Park area. These buses connect to the Bridgeport SkyTrain Station in Richmond, from where you can take the Canada Line directly to Downtown Vancouver (Waterfront Station) or Vancouver International Airport (YVR). A single adult fare on TransLink is currently around ~CAD$3.50 - $6.70 depending on the zones. This is a multi-step journey and best suited for those without much luggage.
Practical things that shorten the wait:
Crossing the Peace Arch border doesn't have to be a daunting experience. With a little preparation – checking wait times, having your documents ready, understanding customs rules, and perhaps investing in NEXUS – you can ensure a smooth and efficient entry into Canada. Once you're through, the impressive landscapes, colourful city life, and warm hospitality of Vancouver and British Columbia await. Enjoy your drive, and welcome to our incredible corner of the world!
Wait times at Peace Arch vary greatly depending on the day, time, and season. They can range from 15 minutes to over 2 hours during peak periods. Always check official CBSA or CBP border wait time websites before you depart.
Absolutely, if you plan to cross the border more than a couple of times a year. NEXUS provides access to dedicated, much faster lanes at land crossings and costs about ~US$50 for a five-year membership. All occupants in the vehicle must have NEXUS to use the lane.
You must declare all goods you are bringing into Canada, including alcohol, tobacco, firearms, gifts, and certain food items (fresh fruits, vegetables, meats, dairy). Honesty and conciseness are key. Check the CBSA website for specific allowances and restrictions.
More to explore in Vancouver
 English
 Español
 Français
 Deutsch
 Українська